
What I'm sharing here is how I make them. I didn't invent it. It's a compilation of skills and techniques from many sources. Mine are made with three seams, and no raw edges anywhere. All seams are encased, no raw edges, not serged. These pillowcases are very professional, and much nicer than what you can buy.
First, select three fabrics. If you are making pillowcases for gifts, think about the personality and interests of the receiver. Would your guy like a golf theme? How about a food theme for someone who loves to cook? Or a music theme for someone who plays in the high school band? Your creativity is the limit.
You will need a focus fabric, a cuff, and trim. The lengths of these are flexible. For a standard size pillowcase, 3/4 yard is plenty. For larger pillowcases, get more. For the cuff, I buy 1/3 yard. The trim will be folded in half and you need 1/2" extra for seam allowance. 1 1/2" is plenty for a thin trim. Sometimes the print makes me decide to make the trim or cuff larger or smaller by a bit.
For this tutorial I'm working with a coffee theme, which will be nice to wake up to. My fabric is directional, which complicates, but that's ok.

First, lay your cuff fabric right side up, cut edge on the top, selvages at the sides. Then, lay your focus fabric (the body of the case) right side up, matching the cut edge, selvages at the sides. Don't worry if your sides don't meet up exactly. You can trim them later.

Now fold in half and press your trim strip wrong sides together. Lay it out on top of the focus fabric, and pin all 4 layers in place. If your selvage sides aren't lining up, trim them to match the shortest piece. At least get rid of the selvage of the fabric if you didn't do that when you started. I always trim those first, because I save them for other projects.

Now roll up your focus fabric, so that your cuff fabric is showing. Strange, isn't it?

Next, bring that cuff fabric bottom edge up to match your pinned edge. Pin it in place. Notice my first pins are top to bottom, but after I make my roll I put the pins bottom to top so the won't be in the way when I stitch. Here's my roll, ready to stitch.

Sew through all layers with a 1/4" seam -- SEAM 1. This is going to be a pillowcase??? Yes. No, it's not a jelly-roll or sausage!

Now the fun part. Reach your hand into the roll and pull, popping the case right sides out.

Look, no raw edges where the case, cuff, and trim are sewn together! Give that seam a nice press.

Next fold your pillowcase in half, wrong sides together, right sides out.

Be sure you have the sides and bottoms lined up. Stitch with a 1/4" seam starting at the cuff.
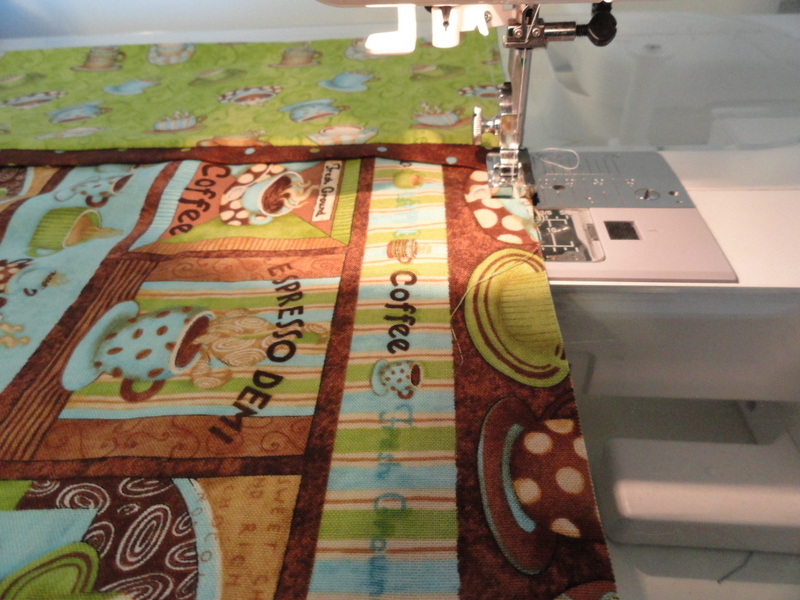
Stop 1/4" before the bottom edge.

Lift your pressure foot, and pivot your fabric, so that you continue along and stitch the bottom, all in one seam with the side -- SEAM 2 complete.

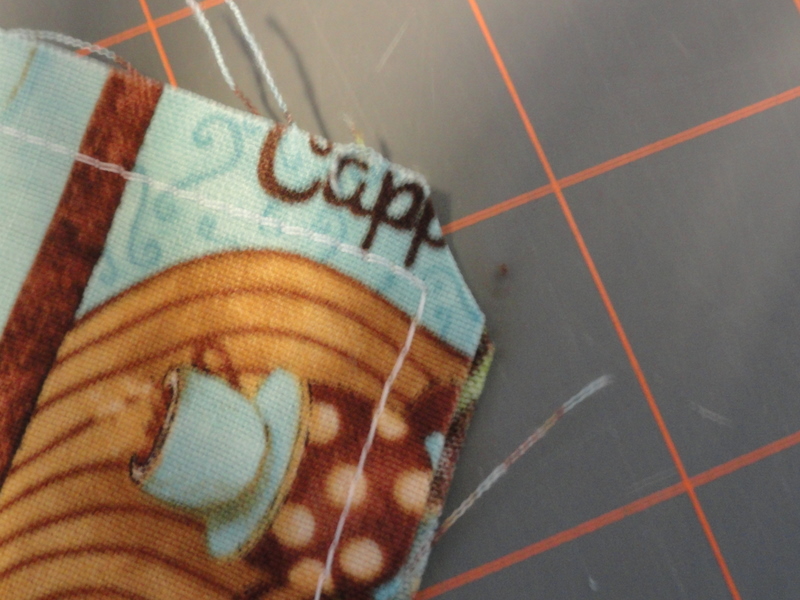
Clip the bottom corners to reduce bulk.
Now turn the pillowcase wrong side out. I like to give it a press here, making sure that last seam is opened out.

Now stitch the same seam with a 3/8" seam allowance. Notice I have removed my quarter inch foot and replaced it with one easy to get a 3/8" seam with.

Pivot at the bottom, just like before, and stitch the bottom edge. This is SEAM 3, and you've just made a French Seam!


Here's the beauty of the French Seam -- no raw edges. Bet it's called something different in France, but when I learned to make this seam, from Mrs. Ott in Home-Ec class, that's what it was and still is called here. See the beauty of the inside of this pillowcase?

Ta-Da! Here's my pillowcase, all finished. It took about 15 minutes to make, :)

All folded, and ready to wrap for a coffee lover.

Here are two cases I've made recently. Notice that the dog fabric was directional too, but in the opposite direction. I really wanted that paw print to show, so I made the trim larger on that one. It's all up to you.

Have fun making pillowcases. Think how quickly you can go through your gift list!
1 comment:
That's the way I make mine too!! I think they feel so nice.
Post a Comment